We all know the saying — New Year, New You! And while completely changing your daily routine might be too much, there are little things you can do to refresh and get organized so you can start 2022 renewed and ready to tackle any challenges.
One great way to shed the clutter of last year is to get all those hundreds of photos and videos on your phone organized and on to your computer, so you can start with a clean slate.
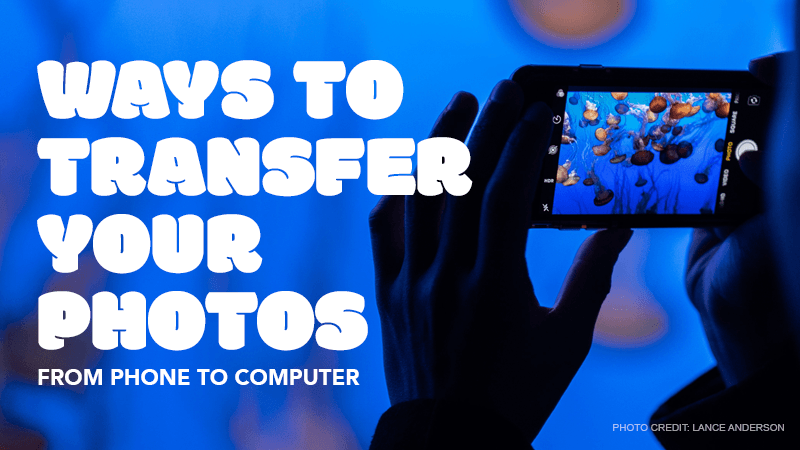
Whether you’re connecting your Android or iPhone to your Mac or your PC, you have a few options to easily transfer your plethora of photos! To save you hours of scouring the internet for instructions, we’ve compiled the best tips in a simple list so you can easily find the best method for your needs.
Remember that tech moves quickly these days, so always make sure your software is up to date, and contact tech support (another google search) if these steps don’t work.

iPhone to Mac Using USB
- Connect your iPhone to your Mac using a USB cord
- Open the Photos app on your Mac and select your phone
- Make sure your iPhone is unlocked
- Choose where you’d like to transfer your photos to (existing album, desktop, new folder, etc.)
- Select the photos you’d like to transfer, and then click Import Selected (or Import All New Items)
iPhone to Mac Using iCloud
The good news is, if you have iCloud set up on your devices, you don’t have to do anything in order to transfer your photos! They should automatically upload to your computer via the Photos app. Simply open the app, and access all your photos.
iPhone to Mac Using Airdrop
- On your iphone, select the photos you’d like to transfer, and select Airdrop
- Choose your Mac device from the Airdrop menu
- The photos should automatically upload to the downloads folder on your Mac
iPhone to PC Using USB or WiFi
- Make sure you have the most recent version of iTunes downloaded on your PC.
- Connect your iPhone to your PC using a USB cord, or a Wi-Fi connection
- Open iTunes on your PC, and select the iPhone button on the top left of the iTunes window
- Select “File Sharing”
- Select the file you want to transfer, select “save to,” and choose where you’d like to transfer your photos to (existing album, desktop, new folder, etc.)

Android to PC Using USB
- Connect your phone to your PC with a USB cord
- Make sure your phone is on and unlocked
- Open the Photos app on your PC
- Select “Import” and “From a USB Device”
- Select the photos you’d like to transfer, and choose where you’d like to transfer them to (existing album, desktop, new folder, etc.)
Android or iPhone to PC or Mac Using Google Drive
- Upload your photos to Google Drive
- Access Google Drive on your PC or Mac (you can download from here, or simply keep them on Google Drive)
However you choose to upload your photos, we hope you have a smooth transition, both in your phone cleanup and the new year to come. Happy New Year from Story Spark!
Hopefully this was helpful! You can always provide your comments or follow our journey, find us on all the social channels: @storyspark
